Apple iPhone 3G disassembly
Tools required: Phillips size 0 screwdriver, plastic tool such as a guitar plectrum or credit card, needle/drawing pin/paperclip or something similar.
With your phone upright, push something like a paperclip into the hole at the top of the phone. This will release the sim holder.
 With the sim holder released, your phone will look like below.
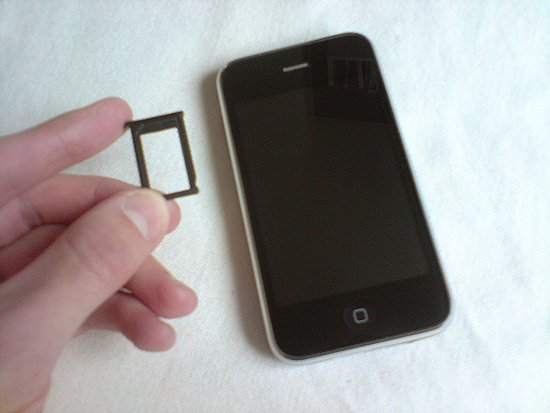 Remove the two screws at the other end of the phone.
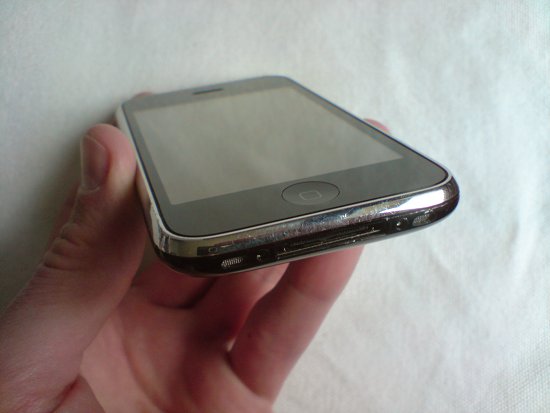 Use your plastic tool to lever the phone apart slightly.
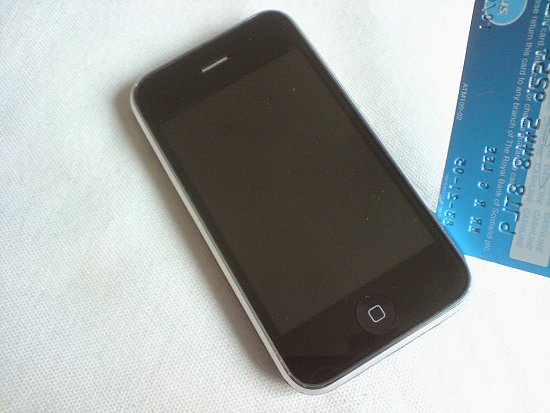 The edge of the screen should now be raised slightly and you can lift it up.
 Lift the screen up to access a number of ribbon connectors. Each one attaches like a plug and socket. Just lever the two circled connectors up to unplug them.
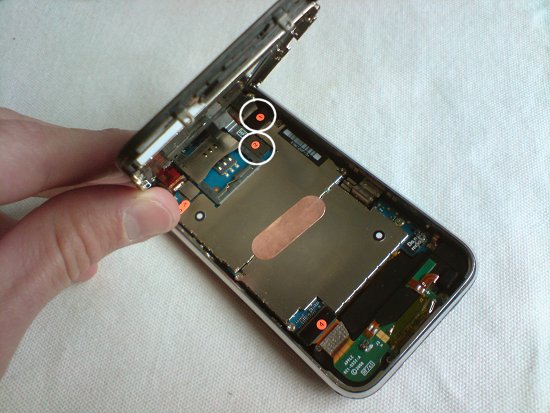 The next ribbon connector (circled) has a black latch that you flick up to release the ribbon. You can then lift the LCD away from the phone.
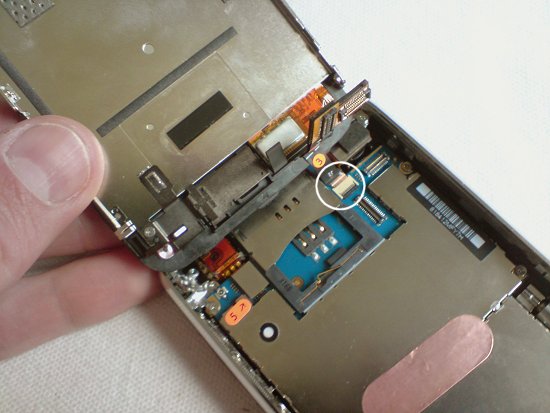 Your phone should now look like below.
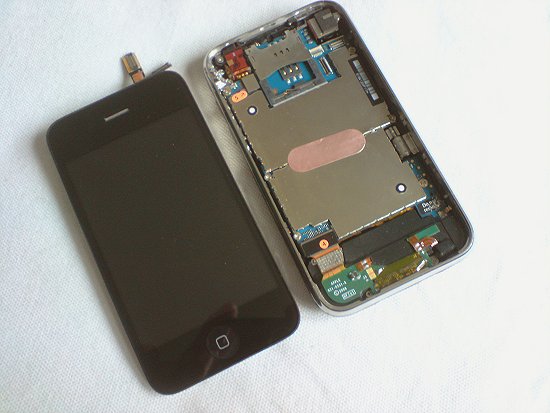 Remove the screws on each side of the screen.
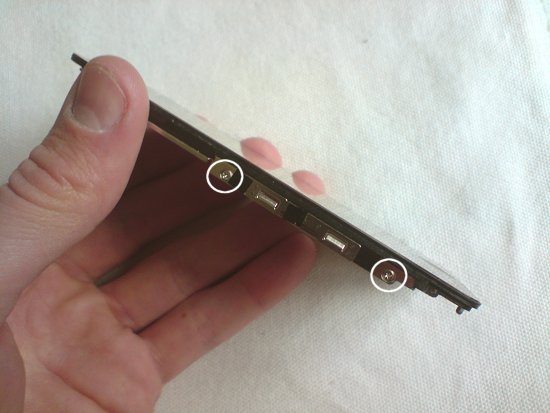 The screws on the other side will be covered by a piece of sticky tape which you’ll need to peel back.
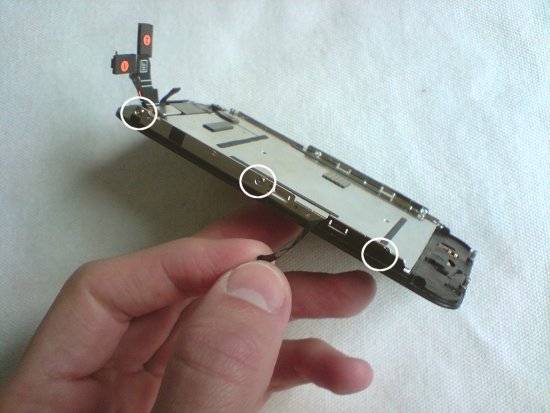 Now remove the screw circled below.
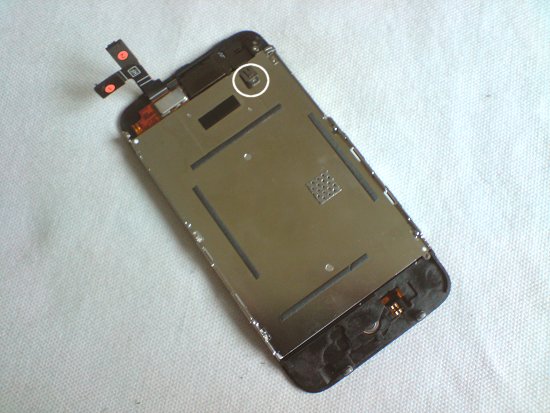 Slide your plastic tool under the LCD screen to release it.
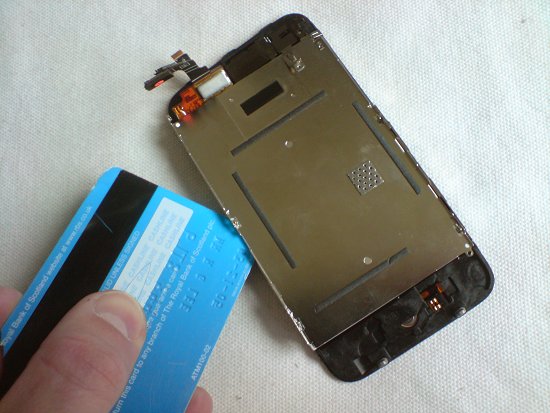 You should now have the LCD screen removed. Reverse the whole procedure for reassembly..
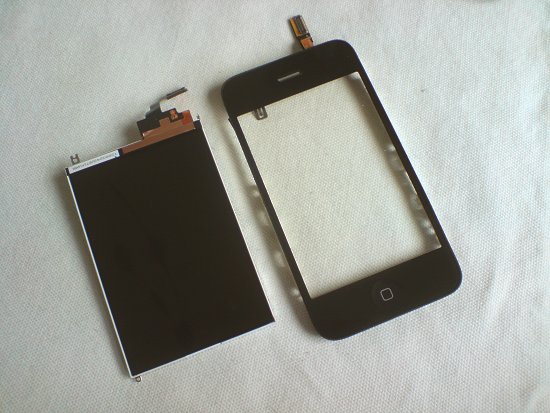

Leave a comment