Sony Ericsson P910i disassembly
Tools required: Phillips screwdriver
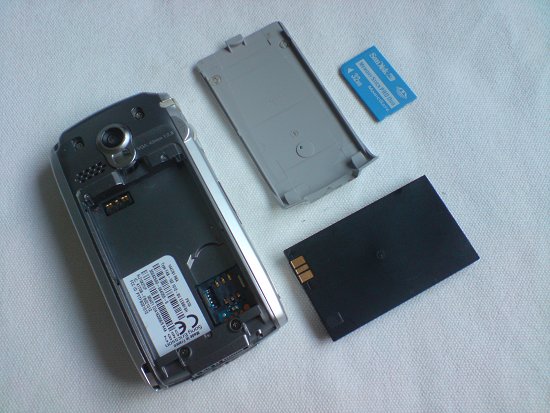
Remove your back cover, battery, sim and memory card
 Remove the flip hinge cover by running your thumb nail or a plastic shim like a guitar plectrum or the edge of a credit card along the join.
 The flip hinge cover should now be removed, like below. Now open the flip and remove the two screws you see. The flip will come loose.
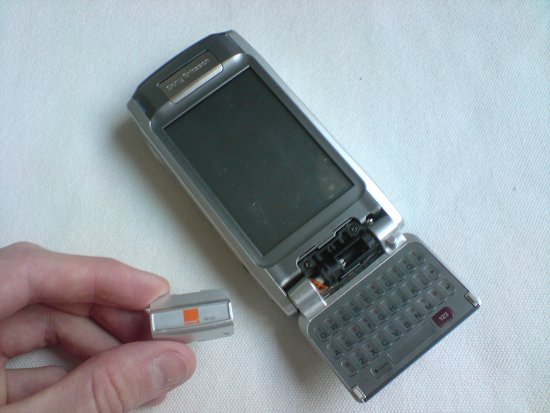 You should now have the flip removed.
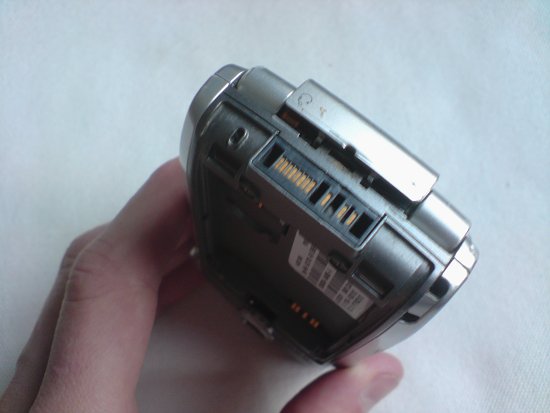
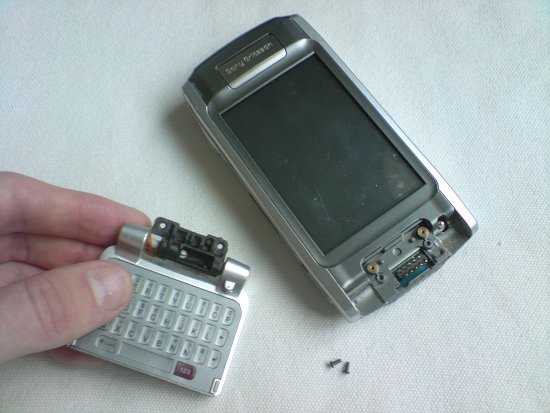 Remove the RF port cover and two screw covers, circled. You’ll reveal two screws. Remove these and the two screws at the bottom of the phone.
 You can now remove the front cover. Just unclip it around the edges, like below.
 You should now have the front cover removed.
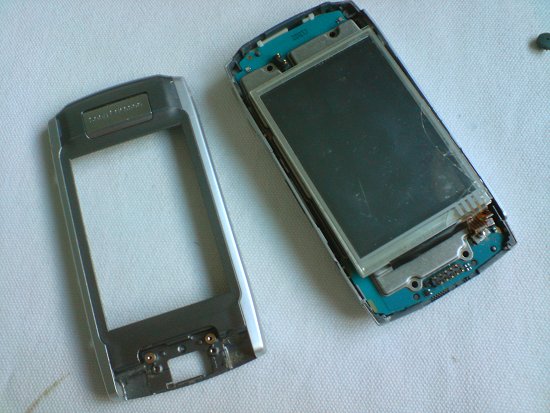 Flip the LCD screen from left to right. It’ll still be attached to the phone by a ribbon. Now remove the two screws you see.
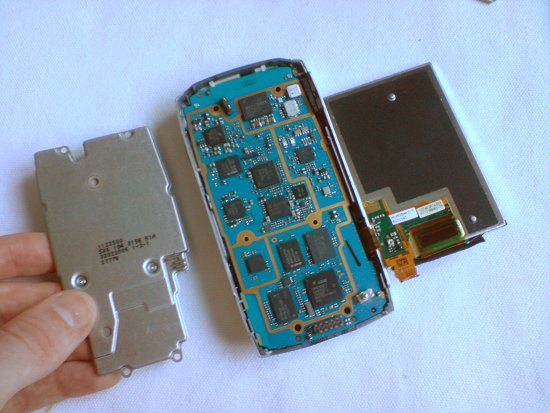
 You can now remove the metal plate. The circuit board is held in place by clips around the edge of the phone which will release with a little manipulation. Lift the circuit board from right to left. A ribbon from the jog wheel will probably detach when you do this. We’ll come back to this later.
 Flip the circuit board over and you’ll see that the LCD is connected by a ribbon cable that attaches like a plug and socket. Simply lift it up to unplug it.
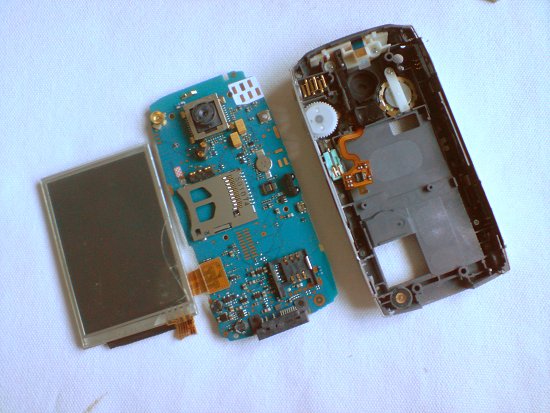 You should now have the LCD screen removed.
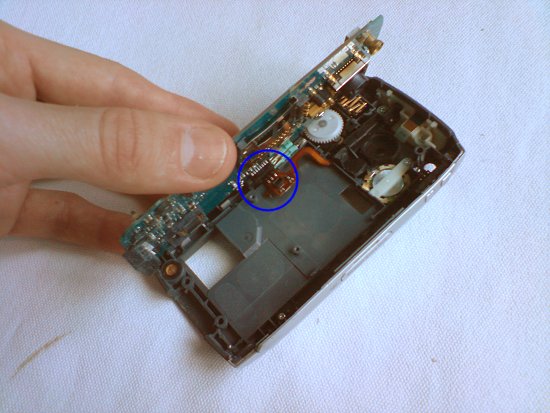
 Before you attach the new LCD you need to reattach the connector from the jog wheel. Do this by positioning the circuit board as shown below then simply push the ribbon back in. Again, it attaches like a plug and socket. Attach your new LCD screen then reverse the whole procedure for reassembly