Nokia N95 8GB disassembly
Tools required: Torx 5 screwdriver
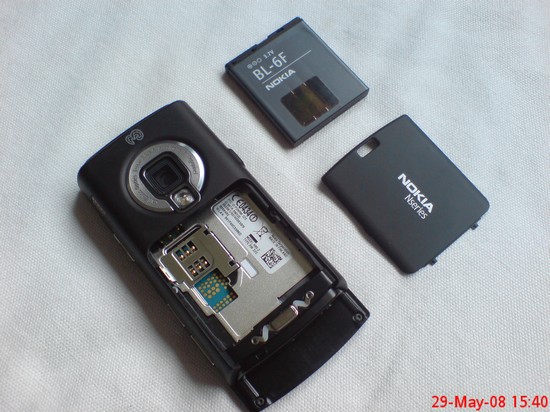
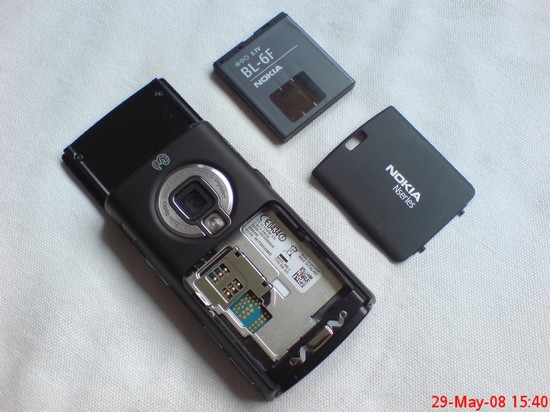
First remove the battery cover, battery and memory card. Move the slider down and remove the two screws you see.
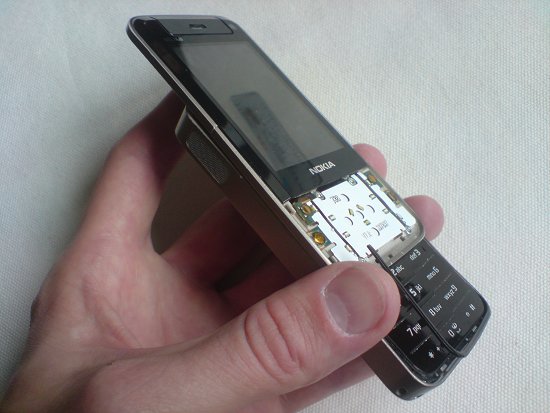
 Now move the slider up and remove the two screws at the top of the phone.
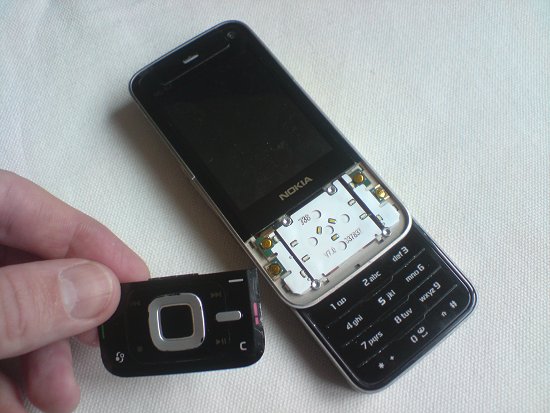
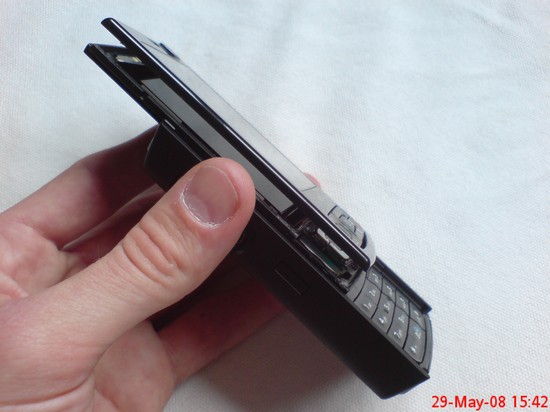
 Run your fingernail along the edge of the join of the front cover to unclip it.
 You should now have the front cover removed. The keypad should be loose as well.
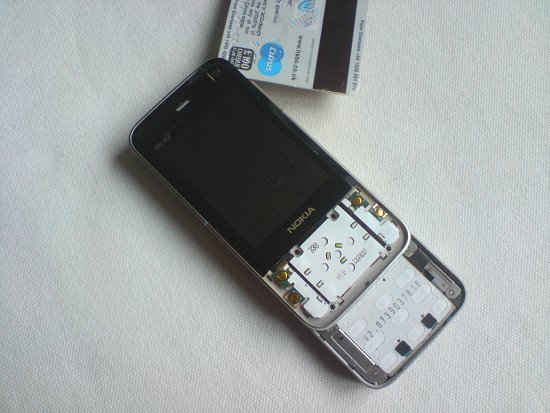
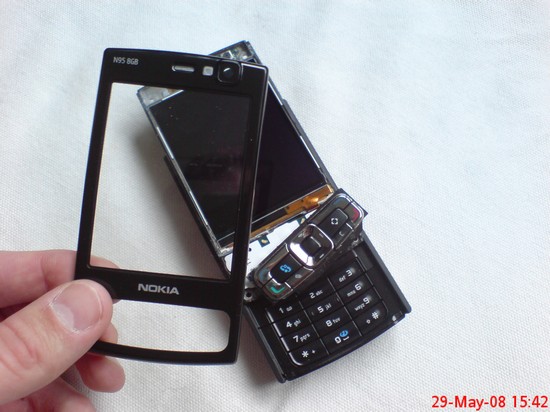 Flip the keypad part back to access the ribbon which connects the LCD to the phone.
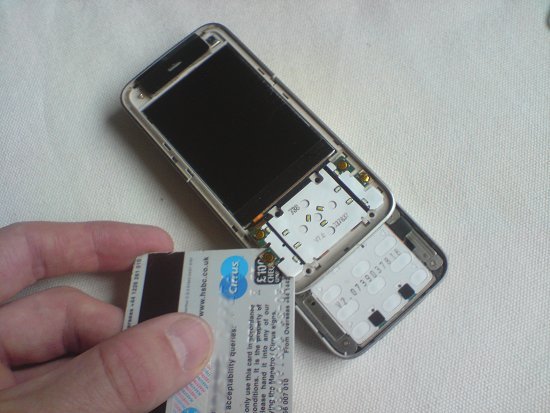
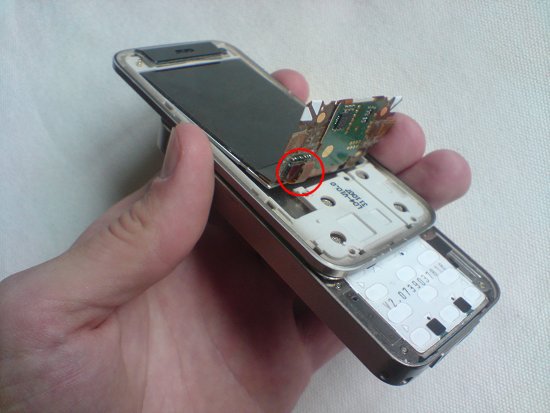
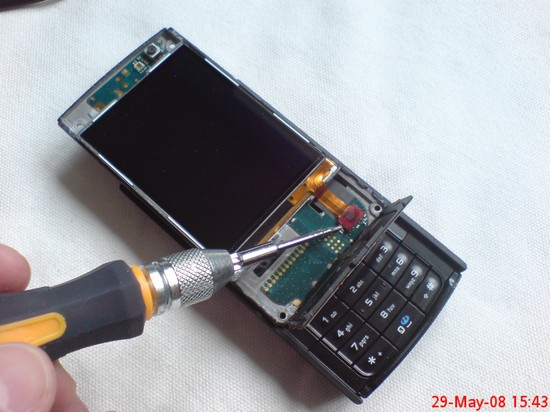
 The screen is attached to the circuit board by a ribbon (indicated below by the screwdriver) which attaches like a plug and socket. Simply lift the connector up to unplug it.
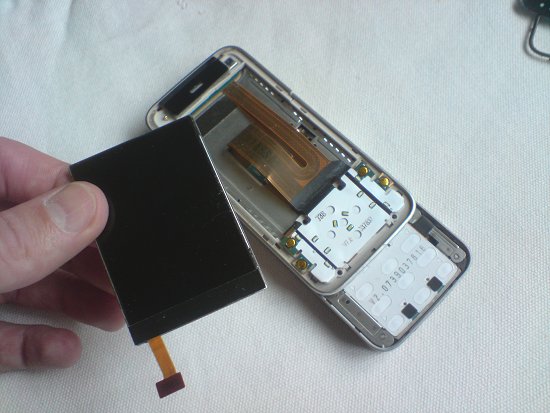
 Lift the screen away from the rest of the phone. Your phone should look like below and you can replace the LCD. Reverse the whole procedure for reassembly